Использование Arduino для включения светодиода
Этот контент является частью коллекции работ, выполненных во время моей учебы в качестве студента магистратуры UX/IxD в Университете Томаса Джефферсона.
Здесь я задокументировал свой прогресс во время прохождения курса Prototyping Interactions I летом 2019 года. В этой части курса используется Arduino.
Подпишитесь на меня в LinkedIn.
Цели проекта
- Создайте схему, которая зажигает светодиод при нажатии кнопки. Затем отключите его, если кнопка не нажата.
- Создайте схему, которая мигает светом, когда кнопка долго нажата. Затем выключите свет, когда кнопка не нажата.

Часть I: Создание схемы кнопки
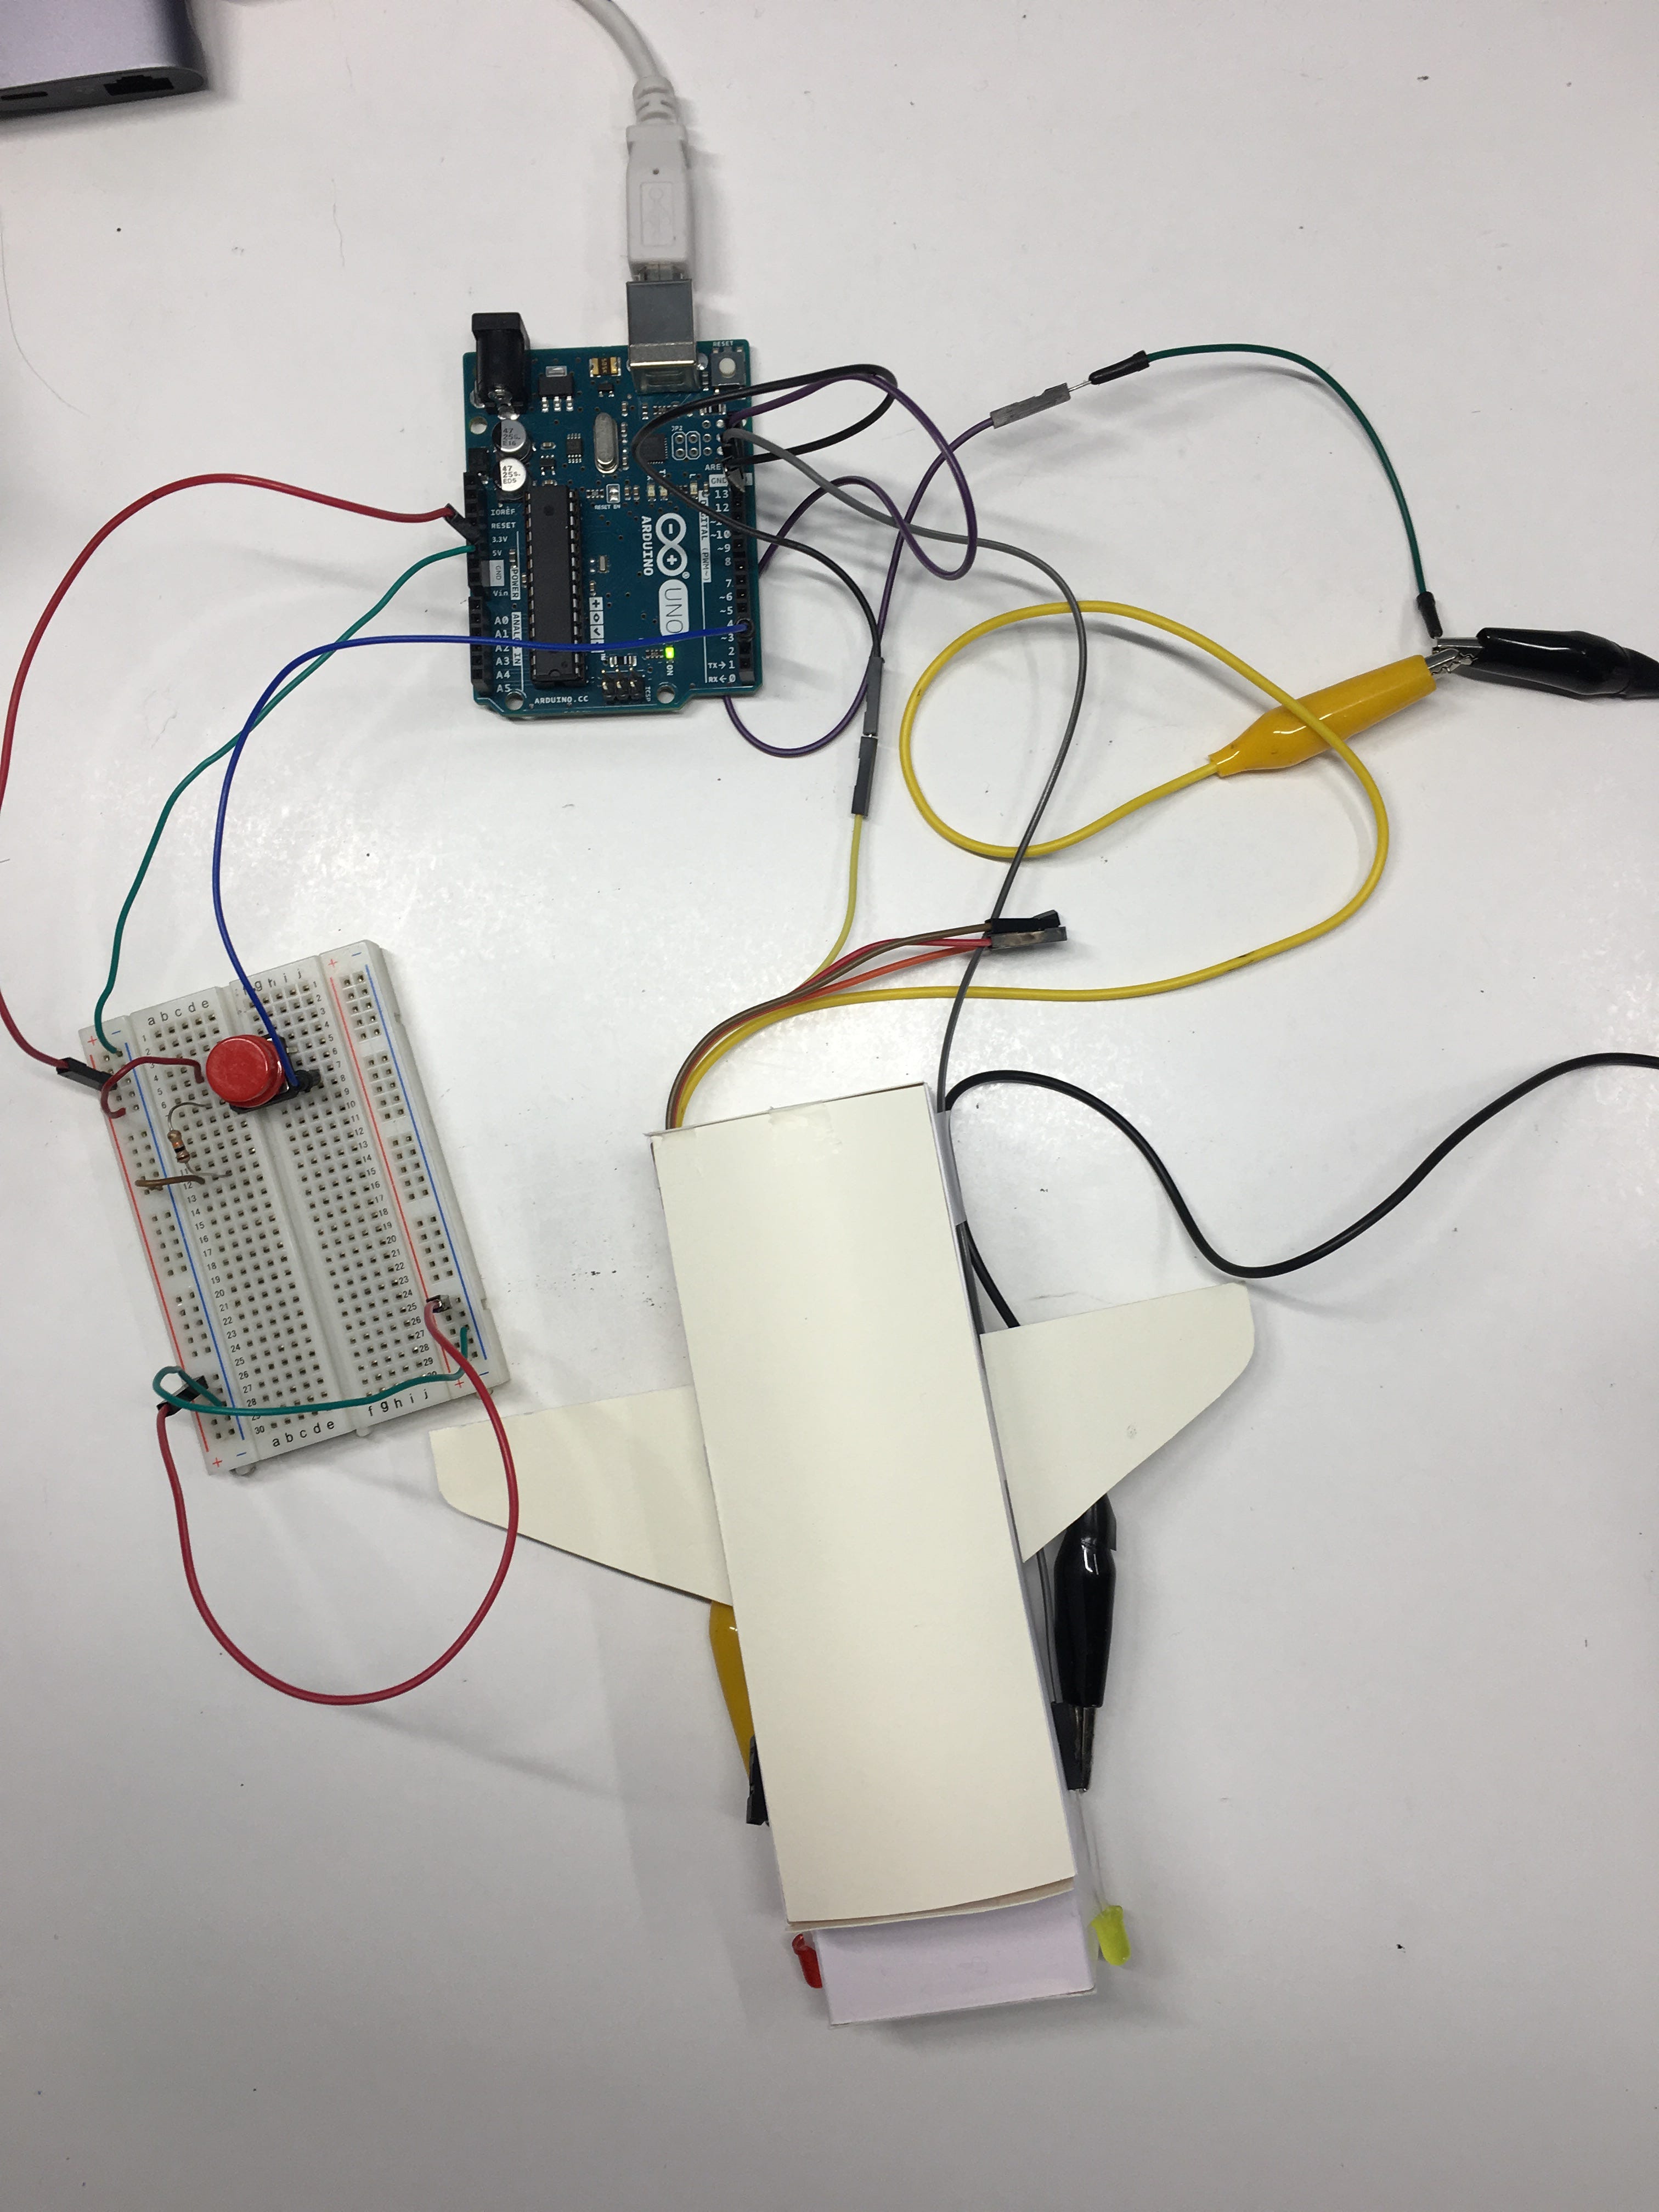
Используя Учебник по кнопкам Arduino, я смог настроить свою схему, как показано ниже. Он показывает вход 5В, проходящий через резистор к кнопке. Затем сигнал поступает на светодиод с входа кнопки.

Код:
// constants won't change. They're used here to set pin numbers:
const int buttonPin = 2;     // the number of the pushbutton pin
const int ledPin =  13;      // the number of the LED pin
// variables will change:
int buttonState = 0;         // variable for reading the pushbutton status
void setup() {
  // initialize the LED pin as an output:
  pinMode(ledPin, OUTPUT);
  // initialize the pushbutton pin as an input:
  pinMode(buttonPin, INPUT);
}
void loop() {
  // read the state of the pushbutton value:
  buttonState = digitalRead(buttonPin);
// check if the pushbutton is pressed. If it is, the buttonState is HIGH:
  if (buttonState == HIGH) {
    // turn LED on:
    digitalWrite(ledPin, HIGH);
  } else {
    // turn LED off:
    digitalWrite(ledPin, LOW);
  }
}
Вывод:

Часть II: мигающие огни с долгим нажатием кнопки
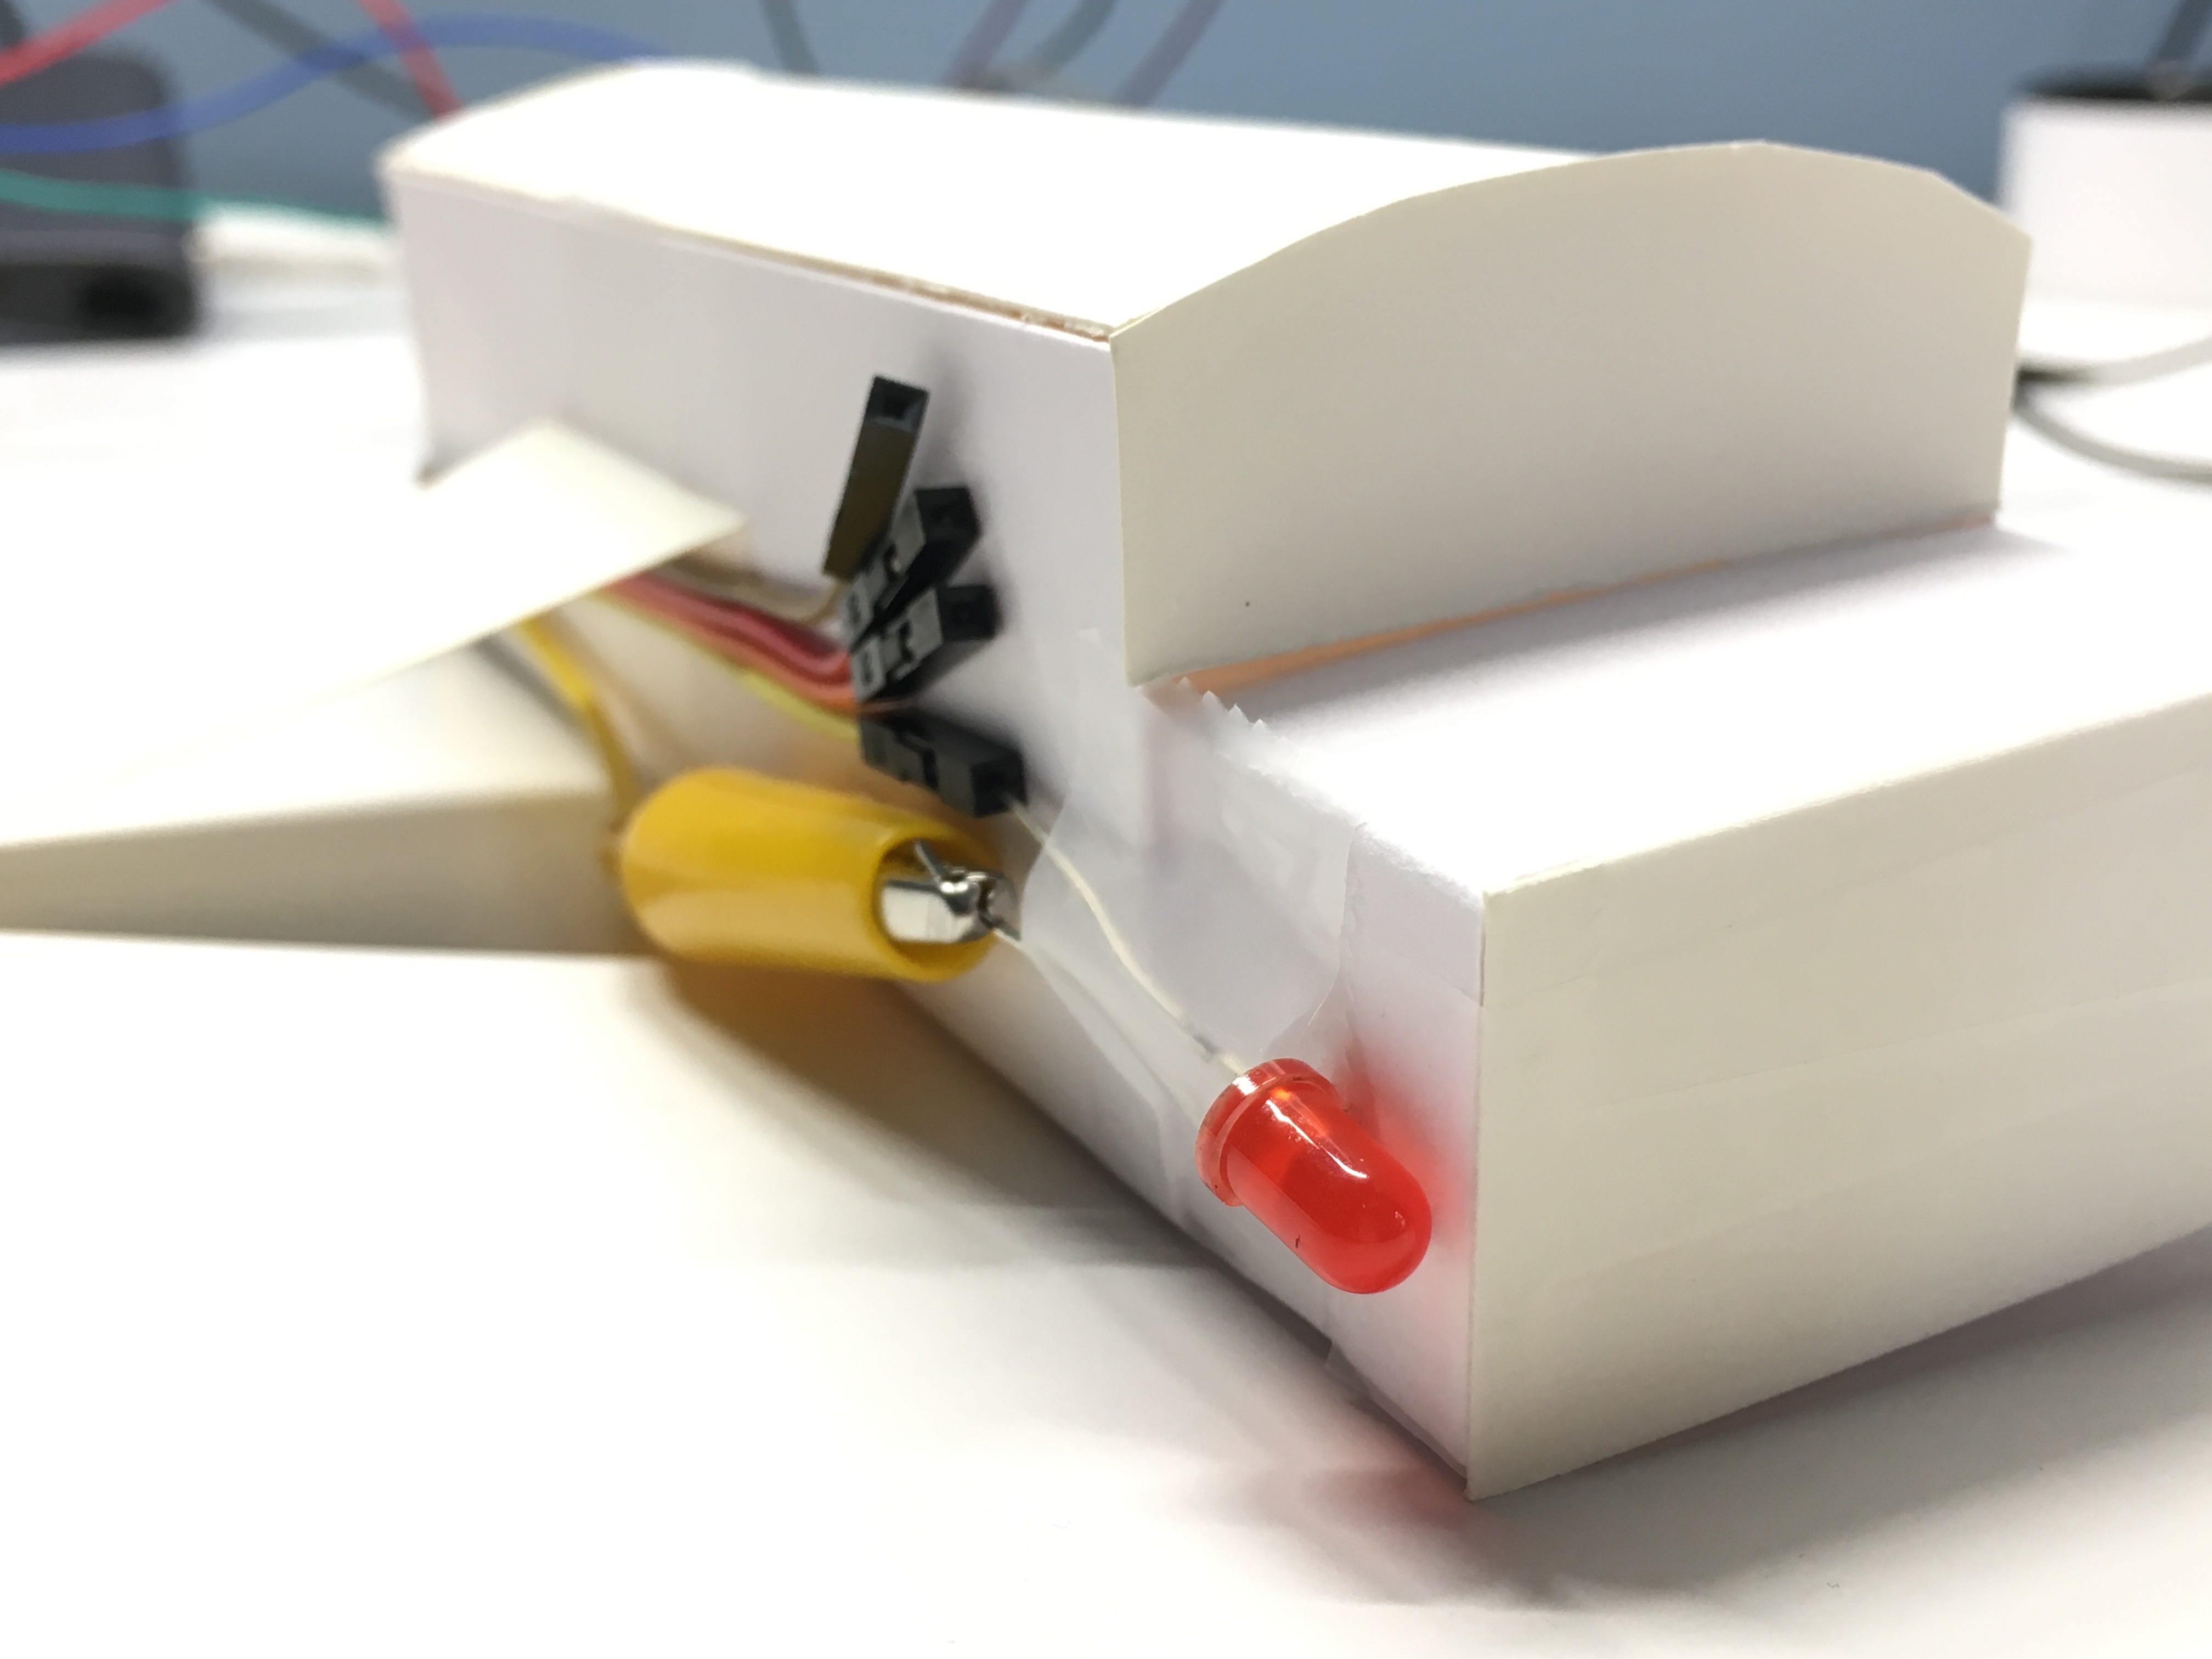
Затем я хотел, чтобы свет мигал, когда кнопка нажимается и удерживается нажатой. Моя цель состояла в том, чтобы имитировать стрельбу лазерным лучом из Волшебного школьного автобуса (проект) для стрельбы по встречным вонючим объектам.
В этой части я собираюсь объединить то, что я узнал из руководства по blink(), чтобы добавить эффект мерцания в свой код. Если обнаружено, что кнопка включена, светодиод должен мигать. Я решил установить короткую задержку между состояниями включения/выключения светодиода, чтобы имитировать частоту лазерного луча, исходящего из школьного автобуса.
Код:
// constants won't change. They're used here to set pin numbers:
const int buttonPin = 2;     // the number of the pushbutton pin
const int ledPin =  13;      // the number of the LED pin
const int elapsedTime = 500;  // if the button is pushed for 500ms, then start blinking
int longPress = 0;           // the number of seconds the button is pushed for
// variables will change:
//unsigned long timeElasped;        // variable for reading the pushbutton status
int buttonState = 0;         // variable for reading the pushbutton status
unsigned long timePressed;
unsigned long currTime;
void setup() {
  // initialize the LED pin as an output:
  pinMode(ledPin, OUTPUT);
  // initialize the pushbutton pin as an input:
  pinMode(buttonPin, INPUT);
  Serial.begin(9600);
}
void loop() {
  buttonState = digitalRead(buttonPin);
  if (buttonState == HIGH) {
       digitalWrite(ledPin, HIGH);     // turn LED on:
       delay(50);
       digitalWrite(ledPin, LOW);     // turn LED off:
       delay(50);
      } else {
    digitalWrite(ledPin, LOW);        // turn LED off:
  }
}
Вывод:
Часть III: Два лазерных луча
С небольшой модификацией я добавил еще один светодиод, чтобы придать нашему волшебному школьному автобусу дополнительный импульс. Я сделал контакт 12 местом расположения моего второго светодиода и перемонтировал светодиоды, чтобы они оба соединялись с землей.


Код:
Я добавил константу для чтения контакта 12, нашего второго светодиода.
// constants won't change. They're used here to set pin numbers:
const int buttonPin = 2;     // the number of the pushbutton pin
const int ledPin =  13;      // the number of the LED pin
const int ledPin2 = 12;
const int elapsedTime = 500;  // if the button is pushed for 500ms, then start blinking
int longPress = 0;           // the number of seconds the button is pushed for
// variables will change:
//unsigned long timeElasped;        // variable for reading the pushbutton status
int buttonState = 0;         // variable for reading the pushbutton status
unsigned long timePressed;
unsigned long currTime;
void setup() {
  // initialize the LED pin as an output:
  pinMode(ledPin, OUTPUT);
  pinMode(ledPin2, OUTPUT);
  // initialize the pushbutton pin as an input:
  pinMode(buttonPin, INPUT);
  Serial.begin(9600);
}
void loop() {
  buttonState = digitalRead(buttonPin);
  if (buttonState == HIGH) {
       digitalWrite(ledPin, HIGH);     // turn LED on:
       digitalWrite(ledPin2, HIGH);     // turn LED on:
       delay(50);
       digitalWrite(ledPin, LOW);     // turn LED off:
       digitalWrite(ledPin2, LOW);     // turn LED off:
       delay(50);
      } else {
    digitalWrite(ledPin, LOW);        // turn LED off:
    digitalWrite(ledPin2, LOW);     // turn LED off:
  }
}
Окончательный результат:
Спасибо, что прочитали!